What Is a Property Inspection Report?
A property inspection report is a document that gives a detailed look at the condition of a property. You might see these reports used when renting, buying, or even applying for a visa where proof of suitable accommodation is required.
When you get a property inspection report, it will cover things like the state of the walls, floors, windows, and any major systems, such as heating. These reports are sometimes prepared before a new tenant moves in or just after one moves out.
Here’s a quick list of what’s usually checked:
- Cleanliness and state of fixtures
- Condition of appliances
- Signs of damp, mould, or damage
- Safety features, such as smoke alarms
Unlike a mortgage statement, which deals with the financial side of owning a property, an inspection report focuses entirely on the physical condition.
If you’re buying a place, the home inspection is an important part of making sure you know what you’re getting.
Some reports are for immigration or visa purposes, demonstrating that a property meets the required living standards. You may also need one for legal disputes or just routine peace of mind during a tenancy.
When Is a Property Inspection Report Needed?
If you’re applying for a UK spouse visa, you’ll often be asked to provide a property inspection report. The Home Office uses this to check that your home meets minimum housing standards and isn’t overcrowded.
Not every immigration case requires one, but for settlement, spouse, or family visas, it’s a common request.
You may also need this report if a new tenancy agreement is in place and the landlord or agent requires proof that the property is safe and suitable for living in. The report will be done after a rental property inspection.
Some councils and letting agents may ask for it before allowing tenants to move in, especially with Houses in Multiple Occupation (HMOs).
Here are situations when you’ll probably need a property inspection report:
- Applying for a spouse or partner visa
- Submitting a settlement or family immigration application
- Wanting to show that the accommodation meets statutory housing standards
- Securing a tenancy agreement in certain rental markets or council properties
The table below gives a quick overview:
Situation
Is Report Typically Needed?
Spouse or partner visa application
Yes
Renewal of tenancy agreement
Sometimes
Private house sale
Rarely
HMO licence application
Yes
General rental agreement
Occasionally
How to Write a Property Inspection Report
A home inspection report may be necessary in certain circumstances. Creating one doesn’t have to be daunting; you can follow these steps to prepare one.
Step 1: Prepare Before the Inspection
Before you begin writing the actual report, you need to plan and gather the tools and information necessary for the inspection. This includes confirming the property address, obtaining permission to access all areas of the property, and identifying any specific concerns or focus areas that need to be addressed.
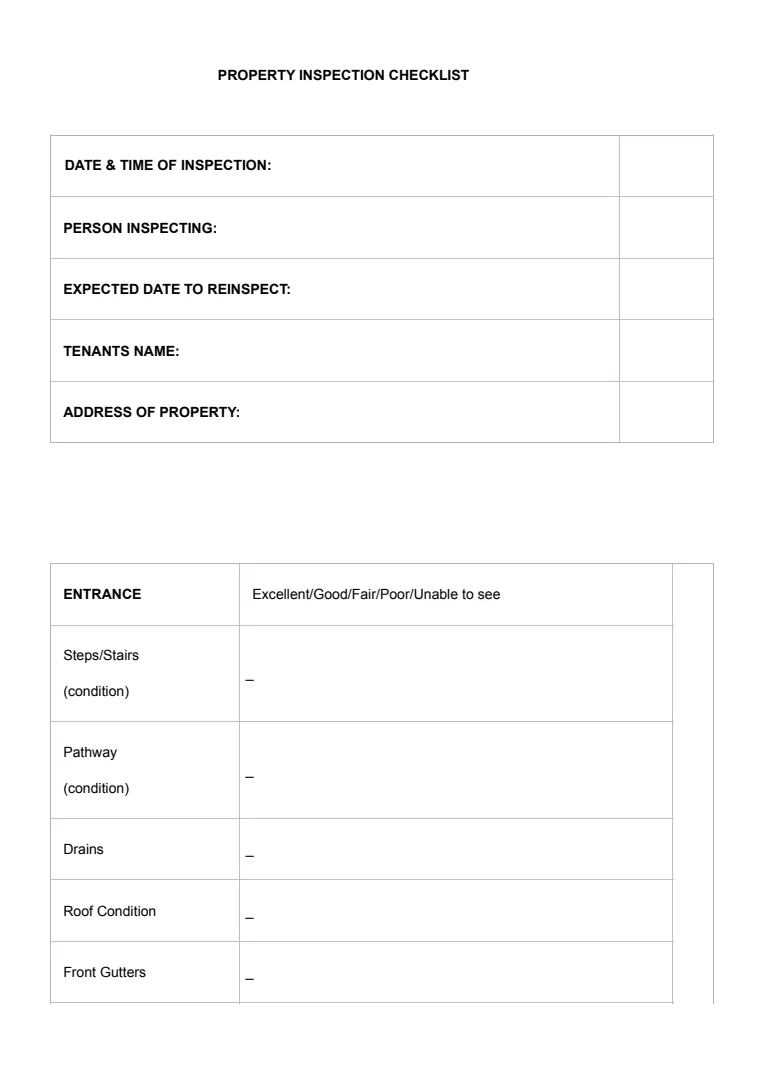
You should also bring a property inspection template or checklist to guide your inspection, along with tools such as a flashlight, camera, notepad or tablet, and possibly a moisture meter or level.
Taking the time to prepare thoroughly ensures that you won’t miss critical elements during the inspection and that your report will be comprehensive.
Step 2: Conduct the Property Inspection
Once on-site, start your inspection by moving systematically through the property. Begin at the exterior, noting the condition of the roof, siding, foundation, windows, doors, drainage systems, and landscaping features.
Then move inside and inspect room by room, documenting the state of the floors, walls, ceilings, plumbing fixtures, electrical outlets, heating and cooling systems, and appliances.
Be detailed and consistent in your observations. Take photographs of all relevant features, especially any issues or damage, and jot down notes about the location, severity, and possible causes of each finding.
This visual and written documentation will form the backbone of your report.
Step 3: Organise Your Observations
After the inspection, review all your notes and photographs and begin organising the information.
Group the findings into logical sections that mirror the layout of the property, such as “Exterior,” “Kitchen,” “Bathrooms,” “Living Areas,” and “Systems (HVAC, Electrical, Plumbing).”
Within each section, arrange the observations from most significant to least significant, especially if safety hazards or major repair needs were identified.
This organisation will make the report easier to read and understand, allowing the reader to quickly locate key issues and recommendations.
Step 4: Write the Report Sections
Now you can start writing the house inspection report itself. Use clear, objective language and avoid speculation unless it’s well-supported by your observations.
Begin with a short introduction that includes the property address, inspection date, and purpose of the report.
Then, for each section of the property, describe what you observed in narrative form. Mention any damage, deterioration, code violations, or concerns, and explain their potential implications.
Where necessary, suggest follow-up actions such as a more detailed evaluation by a specialist or immediate repairs.
Ensure each section is thorough yet concise, avoiding jargon and keeping the reader's needs in mind.
Step 5: Add Visual Evidence
Enhance your written findings by inserting photographs throughout the report. Position them next to the relevant text to give readers a visual reference for what you're describing.
Each image should have a clear caption indicating what the photo shows and where it was taken. If you used any tools to take readings (such as a moisture level), include those measurements as well.
Visual documentation not only strengthens your credibility but also makes the report more accessible to someone unfamiliar with technical inspection terms.
Step 6: Review and Finalise the Report
Before sharing the report, take the time to review it carefully.
Check for spelling and grammar mistakes, ensure all sections are complete, and verify that every photo is labelled correctly.
Double-check that all significant findings are documented and that any recommendations are reasonable and clearly explained.
If the report is being submitted to a third party, such as a buyer, seller, or landlord, consider having a second pair of eyes review it.
Once you're confident in the quality and accuracy of your report, convert it to a PDF or professional format and distribute it as needed.
Remember, it’s a good idea to use a free landlord inspection checklist UK or a property inspection report template UK to help you throughout the process.


